Last Updated: October 6, 2022 | Reading Time: 2 minutes
I wrote how to pair Apple Wireless Keyboard with Windows 10 a moment ago, and some friends asked me how to connect the Apple Magic Mouse in Windows 10 as well. I will describe it in this post, plus, how to make the scroll function works too.
Actually the process is quite the same unless the Apple Magic Mouse doesn’t require to add or type any code.
- Turn on the Apple Magic Mouse, and you will see the Indicator will be blinking.
- Open “Bluetooth and other devices settings,” click on the start menu, and type “blue.”

- Turn on the Apple Magic Mouse.
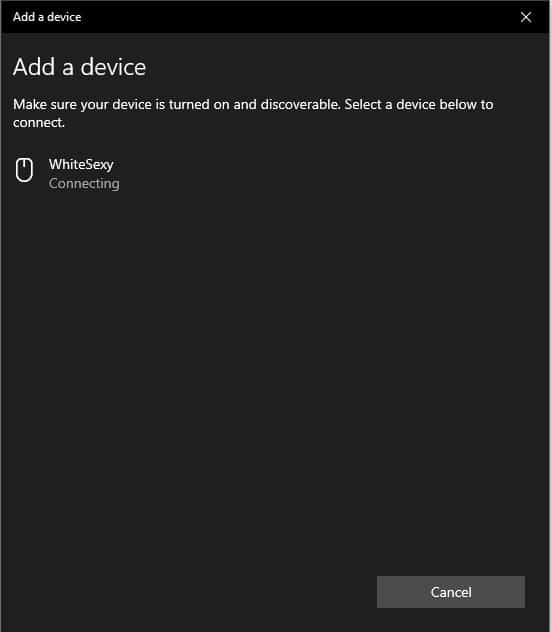
- Click “Add Bluetooth or other devices”. Select Bluetooth. Your magic mouse will be listed. Select the device and click next.


- Wait for a few seconds, and that’s it, your magic mouse is ready to use.


How to activate the scroll function
After the magic mouse added, you will realize that the scroll function is not active. Here’s how to activate the scroll function:
Boot Camp Support
- Download the software from https://support.apple.com/kb/DL1837
- Extract it.
- Navigate to \BootCamp5.1.5621\BootCamp\Drivers\Apple and click AppleWirelessMouse64.exe
Magic Utilities
Magic utilities is a paid software that makes your Magics (keyboard/trackpad and mouse) device works seamlessly. You can download the software here: https://magicutilities.net/download for 28 days full features demo.
4 Responses
Hi – I have this problem with the mouse clicking but not scrolling, but this download doesn’t work on Windows 10, only up to Windows 8 – any ideas I’d be very grateful as I’m going round in circles! thanks Adeline
No, just installed on windows 10, scrolling works
Works well with Windows 10 and Asus laptop ! .. thank you !